You’ve chosen PayMongo as your payment processor, but now you’re staring at documentation, wondering how to actually connect it to your WordPress or Shopify store. The good news? PayMongo’s integration is more straightforward than most Philippine payment gateways—once you understand the platform’s structure and requirements.
This integration approach is a key part of our wider guide on Payment Gateway Integration API for Philippine E-Commerce Sites 2025, where we compare the technical requirements across different providers. Here, we’re diving deep into PayMongo’s specific implementation for the two most popular e-commerce platforms in the Philippines.
What Is PayMongo and Why It Matters for Your Store
PayMongo Philippines Inc is a Y Combinator-backed fintech company that provides payment infrastructure for Philippine businesses. Unlike traditional merchant accounts that require weeks of paperwork, PayMongo offers API-first payment processing with same-day approval for most businesses.
Quick Answer: PayMongo is a payment gateway that lets Philippine online stores accept credit cards, debit cards, GCash, and GrabPay through a single integration. It’s designed specifically for developers and non-technical store owners who need reliable payment processing without the complexity of traditional banks.
The platform stands out because it handles both online checkout and payment links, supports installment payments, and provides webhook notifications for real-time order updates—features that matter when you’re running a growing e-commerce operation.
PayMongo WordPress Integration: Two Paths Forward
WordPress users have two distinct integration options, and your choice depends on whether you’re using WooCommerce or another e-commerce solution.
PayMongo Plugin for WooCommerce
The PayMongo plugin for WooCommerce is the fastest path to accepting payments. Here’s what you need to know:
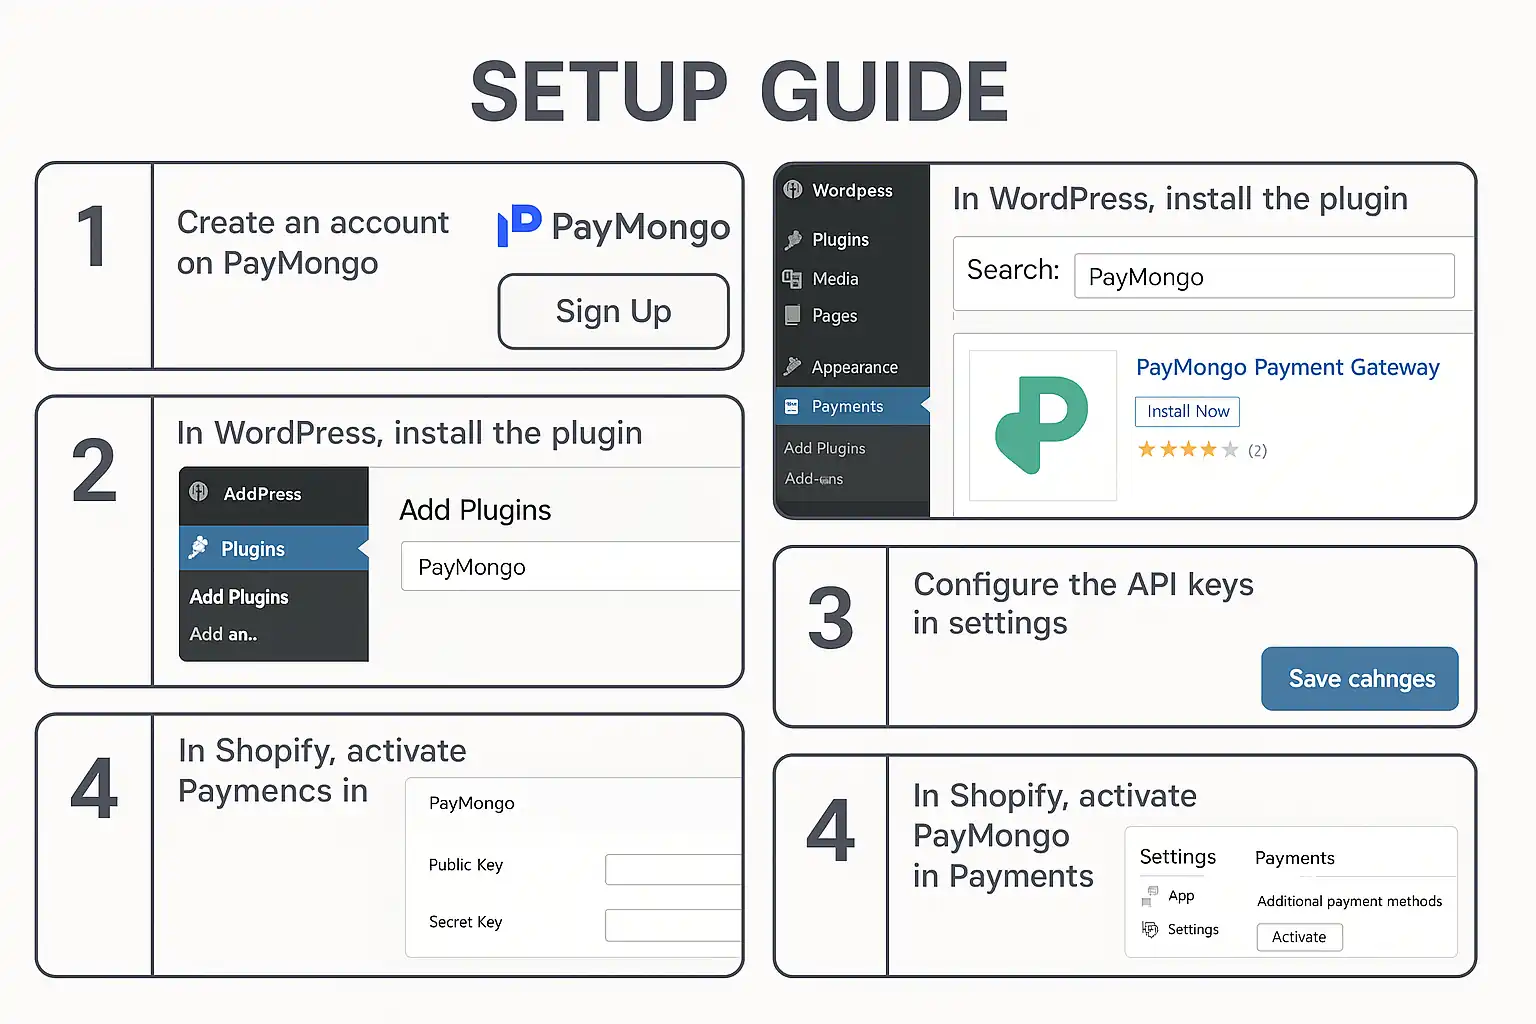
Installation Process:
- Download the official PayMongo for WooCommerce plugin from the WordPress repository
- Navigate to WooCommerce → Settings → Payments
- Enable PayMongo and enter your API keys (found in your PayMongo Dashboard)
- Configure which payment methods to display (cards, GCash, GrabPay)
The plugin automatically handles the checkout flow, creates payment intents, and updates order statuses when payments complete. You don’t need to write code or understand APIs.
Key Configuration Settings:
- Test Mode: Always enable this first using PayMongo test cards
- Webhook URL: Auto-generated by the plugin for payment confirmations
- Payment Methods: Toggle individual options (credit card, e-wallets)
- Checkout Experience: Choose between redirect or modal popup
Custom WordPress Integration Using PayMongo Developer API
If you’re building a custom WordPress solution outside WooCommerce, you’ll work directly with the PayMongo developer API. This requires PHP knowledge but gives you complete control.
The core workflow involves:
- Creating a payment intent via API when a user clicks “Pay”
- Attaching a payment method (card details or e-wallet selection)
- Handling the payment confirmation callback
- Processing the webhook to finalize the order
You’ll need to store your secret API key securely (never in JavaScript) and implement proper error handling for declined transactions.
PayMongo Shopify Integration: Native App vs Custom
PayMongo Shopify integration is simpler than WordPress because Shopify’s payment provider API is standardized.
Using the PayMongo Shopify App
Install the PayMongo app from the Shopify App Store. The setup takes about 10 minutes:
- Connect your PayMongo account through OAuth
- The app automatically configures payment methods
- Shopify handles the checkout UI—you don’t modify themes
- Orders sync automatically with payment status
Important limitation: Shopify takes a transaction fee on top of PayMongo’s rates if you’re not on Shopify Plus. This is Shopify’s policy for third-party payment gateways, not a PayMongo fee.
Custom Shopify Integration Considerations
For Shopify Plus merchants, you can build a custom payment integration using Shopify’s Payment Apps API. This removes Shopify’s additional transaction fees but requires:
- A Shopify Plus account
- Developer resources to maintain the integration
- Compliance with Shopify’s payment app requirements
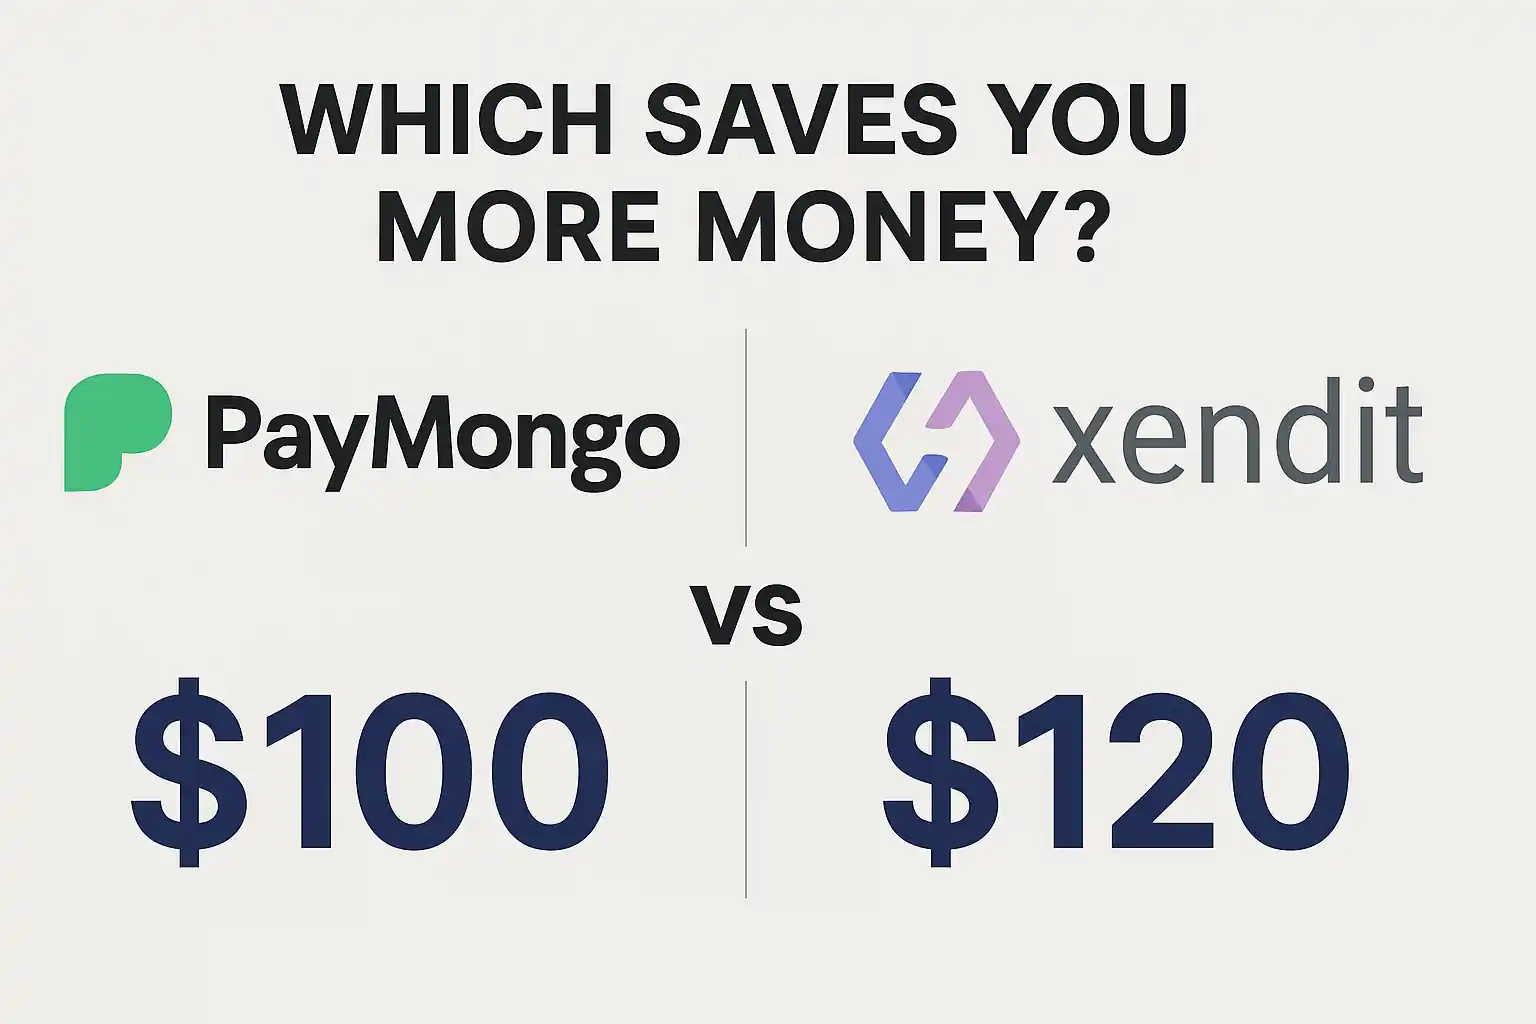
Most merchants stick with the app unless transaction volume justifies the development cost. When evaluating total costs across providers, check out our comparison at PayMongo vs Xendit: Which Saves You More Money to understand how fees stack up.
PayMongo GCash Integration: What Actually Happens
PayMongo GCash is one of the most requested payment methods in the Philippines. Here’s how it works technically:
When a customer selects GCash at checkout:
- Your site creates a “source” object via PayMongo API (not a payment intent)
- PayMongo returns a redirect URL
- Customer is sent to GCash’s authentication page
- After payment, GCash redirects back to your success URL
- PayMongo sends a webhook confirming the payment
Critical implementation detail: GCash payments are asynchronous. The customer might close their browser after paying but before the redirect completes. Your webhook handler must be the source of truth for payment confirmation, not the redirect callback.
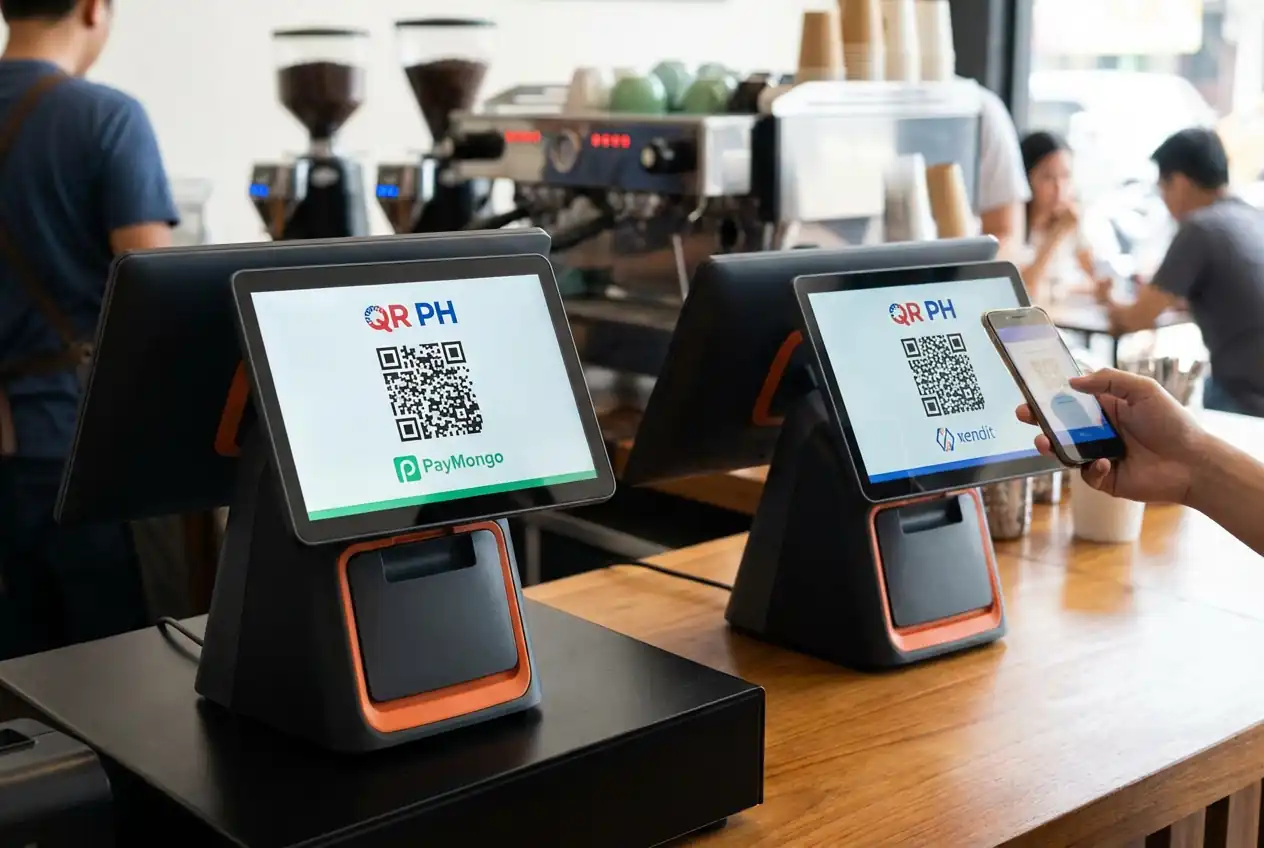
The same flow applies to GrabPay and other e-wallet options PayMongo supports. Beyond individual e-wallet integrations, the Philippine payment landscape is rapidly moving toward unified scanning. If you want to accept payments from almost any local bank or e-wallet using a single code, implementing the national QR standard is your best move. To see how the country’s top two providers handle this feature, read our complete guide on the QR PH Payment Method: PayMongo & Xendit Payment Gateway.
Understanding PayMongo Fee Structure
While we can’t discuss specific rates, understanding the PayMongo fee structure helps you implement the right features:
Fee Components:
- Per-transaction percentage
- Fixed fee per transaction
- Different rates for cards vs e-wallets
- Installment payments carry additional fees
- International cards have separate pricing
Implementation impact: Your checkout should display the final amount the customer pays. Some merchants absorb payment fees; others pass them to customers. If you’re passing fees, calculate them before the payment intent is created—changing amounts after a payment is initiated violates card network rules.
PayMongo’s dashboard shows your effective PayMongo rates based on your monthly volume, which can help you forecast costs as you scale.
PayMongo Test Cards: Proper Testing Protocol
PayMongo test cards are essential for development. Never test with real card numbers, even your own.
Test Card Numbers:
- 4343434343434345 – Successful payment
- 4571736000000075 – Card declined
- 4571736000000083 – Insufficient funds
- 4571736000000091 – Generic processing error
Testing checklist before going live:
- Successful payment flow updates order status
- Declined cards show appropriate error messages
- Webhook handler processes all payment events
- 3D Secure authentication works (use test cards that trigger 3DS)
- GCash test mode redirects properly
- Refund API calls work correctly
Use test mode API keys for all testing. PayMongo’s test environment is completely separate from production—no real money moves.
PayMongo Webhook Implementation: The Critical Component
PayMongo webhook notifications are how your store learns about payment status changes. This is non-negotiable for production sites.
Essential webhook events:
- payment.paid – Payment succeeded
- payment.failed – Payment declined
- source.chargeable – E-wallet payment completed (GCash, GrabPay)
Implementation requirements:
- Create a webhook endpoint URL on your server (e.g., yoursite.com/paymongo-webhook)
- Register this URL in your PayMongo dashboard
- Verify webhook signatures to prevent spoofing
- Process events idempotently (same event might arrive twice)
- Return a 200 status code quickly (under 5 seconds)
Common mistake: Performing slow operations (sending emails, updating inventory) inside the webhook handler. Instead, save the event and process it asynchronously. PayMongo will retry failed webhooks, but if your endpoint consistently times out, they’ll disable it.
For WordPress, the PayMongo plugin handles webhooks automatically. For custom integrations, you’ll implement this in PHP, Node.js, or your backend language of choice.
Developer Resources and API Best Practices
The PayMongo developer documentation is comprehensive, but here are the practical tips that aren’t obvious:
API Key Management:
- Use secret keys only on your server, never in frontend JavaScript
- Public keys are safe for client-side use (for card tokenization)
- Rotate keys if you suspect they’ve been exposed
- Use environment variables, not hardcoded values
Rate Limiting:
PayMongo implements rate limits on API calls. For high-volume stores:
- Cache customer payment methods when possible
- Batch webhook processing
- Implement exponential backoff for retries
Error Handling:
PayMongo returns detailed error codes. Don’t show raw API errors to customers—map them to user-friendly messages:
- card_declined → “Your card was declined. Please try another payment method.”
- insufficient_funds → “Your card has insufficient funds.”
- invalid_cvc → “The security code you entered is incorrect.”
SDK Options:
- Official PHP library for WordPress/Laravel
- JavaScript library for frontend tokenization
- Community libraries for Python, Ruby, Node.js
Going Live: Pre-Launch Checklist
Before switching from test to production mode:
Technical verification:
- Replace all test API keys with production keys
- Disable test mode in plugin/app settings
- Verify webhook URL is accessible from PayMongo’s servers (not localhost)
- Test one small real transaction
- Confirm payment appears in PayMongo dashboard
- Check that order status updates correctly
Compliance requirements:
- Terms of service mention PayMongo as payment processor
- Privacy policy covers payment data handling
- SSL certificate is valid (HTTPS required)
- Store contact information is accurate in PayMongo dashboard
Customer experience:
- Payment methods display correctly at checkout
- Error messages are helpful, not technical
- Success page confirms payment clearly
- Email receipts are being sent
Troubleshooting Common Integration Issues
“Webhook not receiving events”
- Check that your webhook URL is publicly accessible (use webhook.site to test)
- Verify you’re listening for the correct event types
- Check PayMongo dashboard for webhook delivery logs
“Payment succeeds but order stays pending”
- Your webhook handler isn’t updating order status
- Webhook signature verification is failing
- Database connection issues in webhook handler
“GCash payments not working”
- You’re using payment intents instead of sources (GCash requires sources)
- Redirect URLs aren’t properly configured
- Test mode isn’t enabled for GCash in dashboard
“3D Secure authentication fails”
- Your success/failure URLs aren’t correct
- Customer’s bank doesn’t support 3DS
- Test cards don’t trigger 3DS in test mode (use specific 3DS test cards)
FAQ Section
Q: Can I use PayMongo without a registered business in the Philippines?
A: No, PayMongo Philippines Inc requires business registration documents (DTI, SEC, or Mayor’s Permit) during account verification. Sole proprietors can register with DTI registration.
Q: How long does PayMongo take to deposit payments to my bank account?
A: PayMongo typically processes payouts within 2-3 business days after a successful transaction. You can configure payout schedules (daily, weekly, or monthly) in your dashboard settings.
Q: Does the PayMongo WordPress plugin work with page builders like Elementor?
A: Yes, the PayMongo WooCommerce plugin works with any WordPress theme or page builder since it integrates at the WooCommerce checkout level, not the page design level.
Q: Can customers save their card details for future purchases with PayMongo?
A: Yes, PayMongo supports customer vaults for storing payment methods securely. You’ll need to implement this using the Payment Methods API—it’s not automatic in the basic plugin.
Q: What happens if a customer pays via GCash but never returns to my site?
A: Your webhook handler will still receive the source.chargeable event from PayMongo, allowing you to mark the order as paid even if the customer closed their browser. This is why webhook implementation is critical.